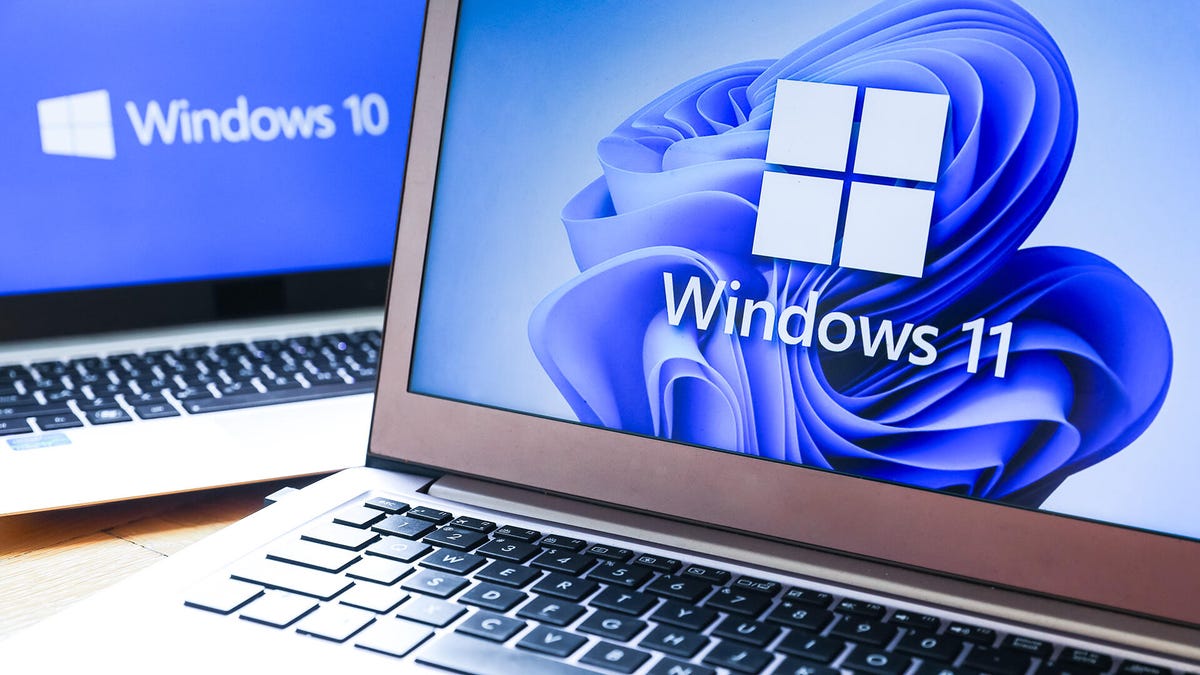
It’s official: four years after launch. windows 11microsoft Ended support for Windows 10 on October 14, 2025 (although it will continue offer security updates for another year).
While many who resist Windows 11 now finally making the changeA significant number of PC owners have discovered that their computers do not appear to meet the minimum system requirements to upgrade their operating systems to Windows 11.
But wait! It turns out that many of those Windows 10 computers could be compatible with Windows 11 despite notifications saying otherwise. All you need to do is make some simple adjustments to a few settings. These fixes do not require opening your computer and should take only a few minutes to complete.
In my case, Microsoft had said that my 6 year old computer was not compatible, but I followed these steps and now it is. Generally speaking, if your computer is around that age or newer, you should be able to upgrade it by following the steps below. Older than that, less likely, but still possible. This is what you should do.
First, learn why Windows says your computer is incompatible
Before you begin modifying settings, run Microsoft’s PC Health Check application, which is probably already on your computer. Simply press the Windows key on your keyboard and type “Health Check.” But, you can download PC Health Check free. Open the app and check for compatibility with Windows 11. Specifically, why is it not approved? If it says there are issues with Secure Boot and TPM, they may be fixable, which we detail below. If there are other issues, such as an incompatible processor, that’s a bigger challenge.
An example of what the PC Health Check app will show if your computer supports Windows 11, along with the reasons (or not).
If it’s a processor issue and you plan to do a “clean install” of Windows 11, cleaning your computer and reinstalling all your programs and files, that should bypass the CPU check. that method not officially supportedalthough. Since you’ll still need secure boot and TPM support, I’m guessing not many of you reading this have a motherboard that’s supported but a CPU that isn’t.
Enable Secure Boot and TPM 2.0
For my part, all I wanted to do was play Battlefield 6. Imagine my surprise and annoyance when Steam told me my computer was incompatible. Yes, like you, I’ve been kicking the can of Windows 11 in the future and now I’ve finally kicked the dead end pole. It turns out that the same things that BF6 needs are the same things that make Windows 10 assume that your computer is not ready for Windows 11. There are two main things: secure boot and trusted platform module, or TPM.
Oh, and it’s worth noting that the tweaks detailed here won’t magically make computers with incompatible hardware compatible, such as those with ARM-based processors, some AMD processors, and much older 32-bit systems. Don’t worry if you’re not sure; In the following steps you will discover what is inside your computer if you have forgotten it.
Secure Boot and TPM Check
An example of the msinfo32 program. The sections in red are the most important for upgrading to Windows 11. The “System Type” should be “x64-based” and the BIOS should be “UEFI”. The motherboard manufacturer and product are not requirements in themselves, but taking note of what they are will help you access the BIOS and find more specific help if necessary.
Lastly, Secure Boot does not have to be enabled, but the motherboard/motherboard must at least support Secure Boot. Unless you know why you want to disable it, it is best to enable it.
Press the Windows and R keys. Guy msinfo32 and look for Secure Boot Status. Most likely it is turned off. Also, check bios mode. This should say UEFI. More on all of these settings in a moment. While you are in this program, write down the manufacturer and model of your motherboard, also called motherboard. This will be useful later.
Press Windows plus R again. Guy tpm.msc and see if any information is displayed such as manufacturer information etc., you should be good to go. If not, all is not lost. You may just need to enable it, as detailed below.
An example of the information that the tpm.msc program will display if your motherboard has an active TPM.
BIOS settings you can change to improve compatibility
The hardest part of this whole process is figuring out how to get into your computer’s BIOS, which stands for Basic Input/Output System. This is the simple programming your computer uses to start up, before loading Windows. In most BIOSes, there is a button you can press on the keyboard to access settings during the boot process. For example, with my computer, you press Delete or F2 during the initial loading screen (pre-Windows). I tend to press it a lot during the boot process because I don’t know when the key press will register, and when I started building computers in the dark ages of the late 20th century, that seemed like the only way to get it working. If you can’t access the BIOS, please search for your motherboard model plus “access BIOS”.
If you have an MSI motherboard, the BIOS interface might look like this.
Enable UEFI (Unified Extensible Firmware Interface)
Most likely, your computer is already configured to use UEFI instead of legacy BIOS mode. Otherwise you need to enable it and reboot. There are too many motherboard manufacturers to describe exactly where this setup will be, but it should be pretty obvious. Otherwise, check in Advanced Settings. As stated above, searching for your motherboard and “enable UEFI” should help. Please note that if you cannot enable UEFI, you will not be able to perform the following steps or upgrade to Windows 11.
An example of the Asus BIOS interface.
Enable Secure Boot
Once you return to your BIOS after enabling UEFI, look for the Secure Boot setting. Like UEFI, your system must support Secure Boot to work with Windows 11. no need to enable secure boot; the option simply has to be there. However, unless you plan to install Linux or other non-Microsoft operating systems on your computer – and if you’re reading this guide, I’m assuming you’re not – then you should enable Secure Boot, as it prevents some specific types of malware.
An example of an ASRock Bios interface
Enable TPM
Lastly, you want to enable TPM. Again, if you can’t, you can’t upgrade to Windows 11. TPM builds have been mandatory on Windows machines since 2016. So if your computer came with Windows 10 when it was new, it should have a TPM build. If your computer hardware is older, it most likely does not have the necessary TPM support.
Officially, you need TPM 2.0 to run Windows 11, but there is a workaround for PCs with TPM 1.2, as well as some older CPUs. However, it involves modifying your computer’s Registry. If you didn’t already know how to access your computer’s BIOS, I don’t recommend messing with the Registry. A mistake here can leave your computer dead. This method was actually described on Microsoft’s own support page at one point. That page has since been replaced with one that essentially says: “Do not install Windows 11 on an incompatible computer.” For most people, that’s probably the best advice. If you are willing to risk ruining your computer (make a backup all your personal data first), you can consult the Web Archive version of the Microsoft page.
With my computer, once I enabled UEFI, I was able to turn on TPM security at the same time as enabling Secure Boot. I saved my settings, restarted my computer and that’s it. Hopefully, everything goes just as well for you, in which case all you need to do is double-check Windows 11 compatibility.
A cheaper hardware solution if the above steps didn’t work
If the above steps didn’t work, chances are your motherboard doesn’t support the new Windows 11 security standards. Before you toss it in the big recycle bin in the sky (aka Best Buy or other local electronics recycler), there’s one last hope. Several companies manufacture TPM modules which add TPM support to certain motherboards. However, don’t get your hopes up. Only a few years passed between this compatibility being on the horizon and manufacturers not including it, but adding the connection to include it.
Google your motherboard and “TPM compatibility” for more information.
Should you even bother checking your compatibility with Windows 11?
If this is the monitor you were using, chances are your computer is not compatible with Windows 11. You should also recycle this stuff. It’s free to do so at Best Buy and other locations.
If your computer is fairly new (6 years or younger), it shouldn’t take much time to prepare it for the Windows 11 upgrade. Is it worth the time? Absolutely. Without additional security updates, at least not without other steps, your computer will be vulnerable to malware and viruses. Given that there are many millions of Windows 10 PCs, many of which will also not be updated to Windows 11, hackers are sure to be motivated to find and exploit newly discovered security issues.
The only exception is if you have an old computer that is never connected to the Internet and never will be. Air gapped, as spy movies like to say. If you can’t download things to it, it can’t get infected. Only consider this if you are sure It will never be connected to the outside world.
If your computer is too old to upgrade, consider something new. Fortunately, with the holiday season just around the corner, there should be some nice discounts in the coming months.
Next steps to upgrade to Windows 11
Once your computer is ready for Windows 11, it’s easy to upgrade and, surprisingly, it’s free for most people.
#upgrade #incompatible #Windows #Windows #free